Chicken Avocado Melt Sandwich- Easy & Delicious
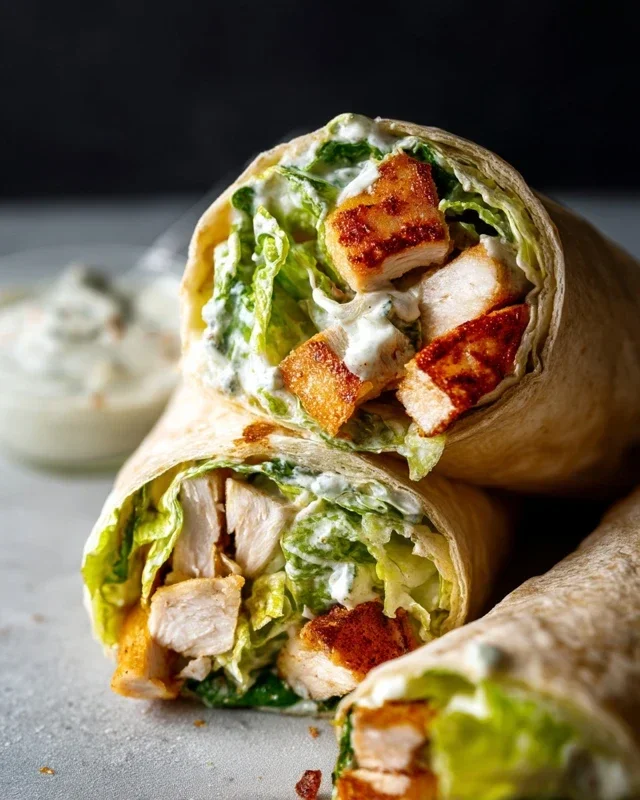
The Chicken Avocado Melt Sandwich is more than just a meal; it’s a creamy, dreamy embrace for your taste buds. We all crave those dishes that feel like a comforting hug on a plate, and this sandwich absolutely delivers. It’s the perfect marriage of tender, seasoned chicken and the luscious, buttery richness of ripe avocado, all brought together with a melty, gooey cheese pull that makes every bite utterly irresistible. What makes the Chicken Avocado Melt Sandwich truly special is its remarkable versatility. It’s a culinary cbeef hameleon, adaptable to your favorite bread, cheese, and even a little sprinkle of spice if you’re feeling adventurous. Whether you’re looking for a quick and satisfying lunch, a delightful dinner, or a crowd-pleasing picnic option, this sandwich is guaranteed to become a go-to favorite in your recipe repertoire. Get ready to fall in love!
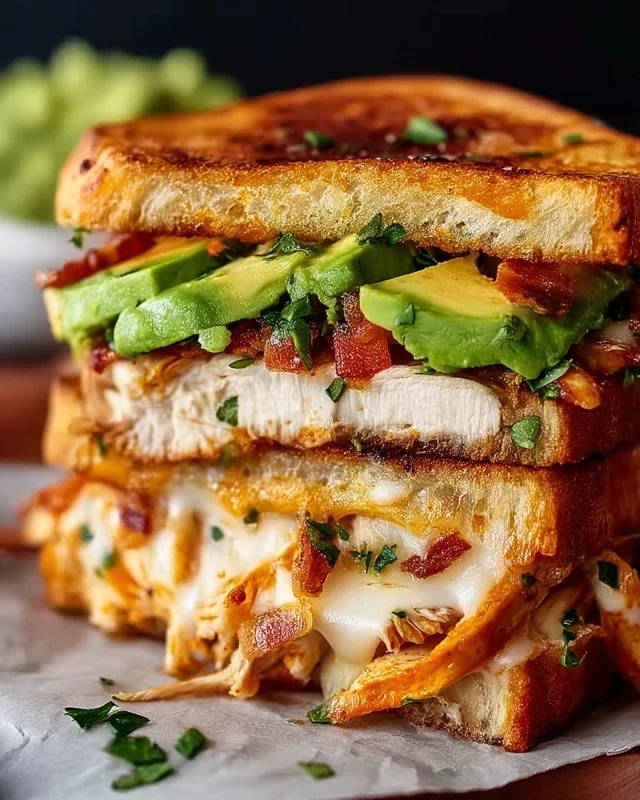
Chicken Avocado Melt Sandwich
There’s something incredibly satisfying about a perfectly grilled sandwich, and when you add tender chicken, creamy avocado, and melty cheese, you’ve got a winner. This Chicken Avocado Melt Sandwich is more than just a meal; it’s a comforting embrace in every bite. It’s the kind of sandwich that transports you to a cozy cafe or a sun-drenched picnic, even if you’re just whipping it up in your own kitchen. The combination of flavors and textures is simply divine – the slight tang of Dijon mustard, the richness of the avocado, the savory chicken, and the gooey cheese, all encased in perfectly toasted bread. Whether you’re looking for a quick and easy lunch, a hearty dinner, or something special to impress a friend, this recipe has you covered. Let’s get started on creating this culinary delight!
Ingredients:
Preparing the Chicken
The foundation of our amazing sandwich is perfectly cooked chicken. To start, we’ll prepare our chicken breasts. If your chicken breasts are particularly thick, I like to gently pound them to an even thickness. This not only ensures that they cook more evenly and quickly but also makes them more tender. You can do this by placing the chicken between two pieces of plastic wrap or inside a zip-top bag and using a rolling pin or the flat side of a meat mallet. Once they are evenly thick, generously season both sides of the chicken breasts with salt and freshly ground black pepper. Don’t be shy with the seasoning; it makes a world of difference!
Now, heat the olive oil in a skillet over medium-high heat. Once the oil is shimmering, carefully place the seasoned chicken breasts into the hot skillet. We want to get a nice golden-brown sear on each side. Cook for about 5-7 minutes per side, or until the chicken is cooked through and reaches an internal temperature of 165°F (74°C). The exact cooking time will depend on the thickness of your chicken. Once cooked, remove the chicken from the skillet and let it rest on a cutting board for about 5 minutes. This resting period is crucial for juicy chicken; it allows the juices to redistribute throughout the meat, preventing it from drying out when you slice it. After resting, slice the chicken breasts thinly against the grain.
Assembling the Sandwich
With our delicious chicken ready, it’s time to assemble our masterpiece. In a small bowl, combine the mayonnaise and Dijon mustard. This creamy, tangy spread is going to add a fantastic layer of flavor to our sandwich. Stir them together until well combined. This is your “secret sauce” that will elevate the whole experience.
Now, take your bread slices. If you’re using a softer bread, you might want to lightly toast them in a toaster before proceeding. This helps prevent the sandwich from becoming soggy. Spread a generous amount of the mayonnaise-mustard mixture on the inside of each slice of bread. Don’t be afraid to get it all the way to the edges!
On two of the bread slices (these will be your bottom halves), start layering your ingredients. First, place a good portion of the thinly sliced cooked chicken. Then, arrange the sliced avocado on top of the chicken. I like to make sure the avocado slices are spread out evenly. Next, lay down the slices of your chosen cheese. Followed by a layer of thinly sliced red onion, and then the tomato slices. Season the tomato slices lightly with salt and pepper for an extra burst of flavor. Finally, place the remaining two slices of bread, spread-side down, on top of the filled halves to complete the sandwiches.
Grilling the Melts
This is where the magic truly happens – transforming our assembled sandwiches into glorious, gooey melts. You have two main options for grilling: a skillet or a panini press. If you’re using a skillet, melt a knob of butter or add a drizzle of olive oil to a clean skillet or griddle over medium heat. Once the butter is melted and slightly foamy, or the oil is shimmering, carefully place the assembled sandwiches into the skillet.
Cook the sandwiches for about 3-5 minutes per side, or until the bread is golden brown and toasted, and the cheese is beautifully melted and gooey. You want to aim for a nice, even crust on the bread. Press down gently with a spatula occasionally to ensure good contact with the skillet and even browning. If the bread is browning too quickly before the cheese has melted, you can reduce the heat slightly or even cover the skillet for a minute or two to trap some heat and help the cheese melt.
If you’re using a panini press, preheat it according to the manufacturer’s instructions. Lightly butter the outside of your bread slices, or brush them with olive oil. Place the assembled sandwiches into the preheated panini press and cook for 4-6 minutes, or until golden brown and the cheese is fully melted. The panini press is fantastic for creating those signature grill marks and ensuring even pressure for a perfectly pressed sandwich.
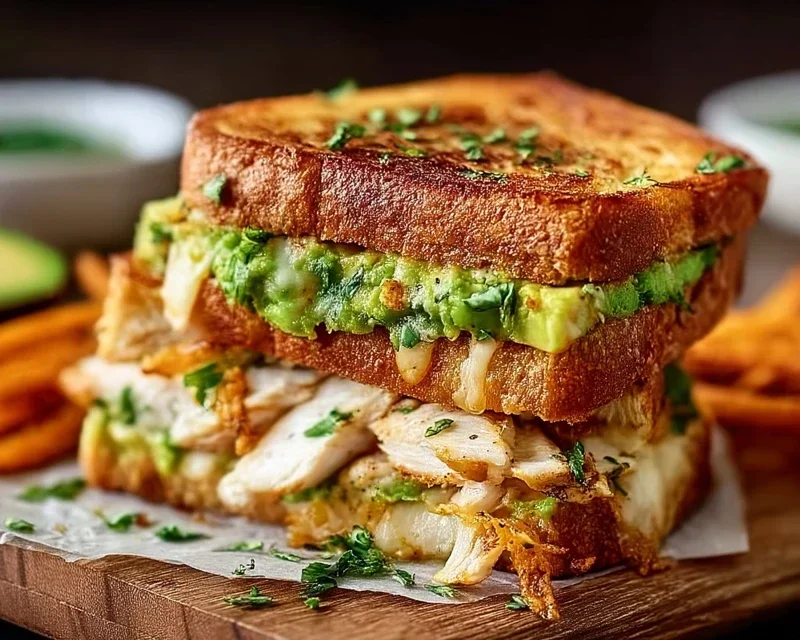
Once your Chicken Avocado Melt Sandwiches are grilled to perfection, remove them from the skillet or panini press. Let them sit for just a minute before slicing them in half. This brief resting period helps the melted cheese and fillings settle, making them easier to cut and preventing everything from oozing out immediately. Serve hot and enjoy the incredible flavors and textures! This sandwich is perfect on its own or paired with a side salad or some crispy potato chips.
Conclusion:
I hope you’re as excited as I am to try this incredible Chicken Avocado Melt Sandwich recipe! It truly is a winner because it strikes the perfect balance between creamy avocado, savory chicken, and melted cheese, all nestled between perfectly toasted bread. It’s a satisfying and delicious meal that’s surprisingly simple to whip up, making it ideal for busy weeknights or a leisurely weekend lunch. The versatility of this sandwich is another reason I love it so much. Feel free to experiment with different cheeses like pepper jack for a kick, or a sharp cheddar for added depth. You can also swap out the chicken for turkey or even some seasoned tofu for a vegetarian option. Serve it alongside a fresh green salad, some crispy sweet potato fries, or a bowl of tomato soup for a complete and delightful meal. Don’t hesitate to make this chicken avocado melt sandwich; I guarantee you won’t be disappointed!
Frequently Asked Questions:
Can I prepare the chicken ahead of time for this sandwich?
Absolutely! You can cook and shred or dice your chicken a day or two in advance. Store it in an airtight container in the refrigerator. This will make assembling your chicken avocado melt sandwich even quicker when you’re ready to eat.
What’s the best type of bread to use for this melt?
While most hearty breads work well, I find that sourdough, whole wheat, or even a good quality artisan bread stand up beautifully to the ingredients and toasting. The key is a bread that can hold its own and get nice and crispy without falling apart.
Is it possible to make this sandwich dairy-free?
Yes, you can definitely adapt this recipe for a dairy-free diet! Use your favorite dairy-free cheese alternative for melting. Ensure your bread is also dairy-free, and you’ll have a delicious dairy-free chicken avocado melt!
Chicken Avocado Melt Sandwich
A delicious and hearty sandwich featuring tender chicken, creamy avocado, melted cheese, and fresh vegetables on toasted bread.
Ingredients
-
2 boneless skinless chicken breasts
-
Salt and pepper to taste
-
1 tablespoon olive oil
-
1 avocado (sliced)
-
4 slices of Swiss cheese
-
4 slices of sourdough bread
-
2 tablespoons mayonnaise
-
1 tablespoon Dijon mustard
-
1 small red onion (thinly sliced)
-
1 tomato (sliced)
-
Butter for grilling the sandwiches
Instructions
-
Step 1
Season the chicken breasts with salt and pepper. Heat olive oil in a skillet over medium-high heat and cook chicken for 6-8 minutes per side, or until cooked through. Let rest and slice. -
Step 2
In a small bowl, mix together mayonnaise and Dijon mustard. -
Step 3
Spread the mayonnaise-mustard mixture on one side of each slice of bread. -
Step 4
Layer the ingredients on two slices of bread: cheese, sliced chicken, avocado, red onion, tomato, and another slice of cheese. -
Step 5
Top with the remaining bread slices, spread-side down. -
Step 6
Melt butter or heat olive oil in a skillet or on a griddle over medium heat. Grill sandwiches for 4-5 minutes per side, until golden brown and cheese is melted.
Important Information
Nutrition Facts (Per Serving)
It is important to consider this information as approximate and not to use it as definitive health advice.
Allergy Information
Please check ingredients for potential allergens and consult a health professional if in doubt.